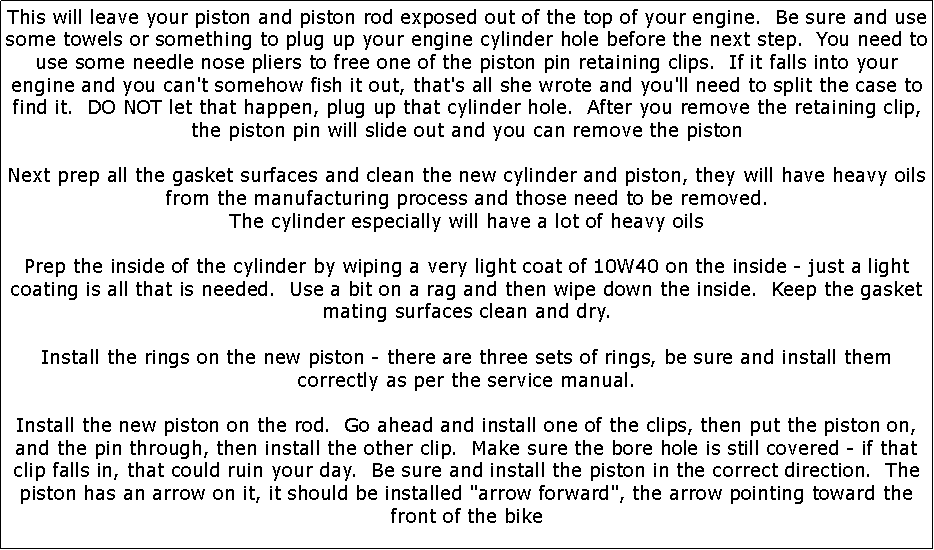
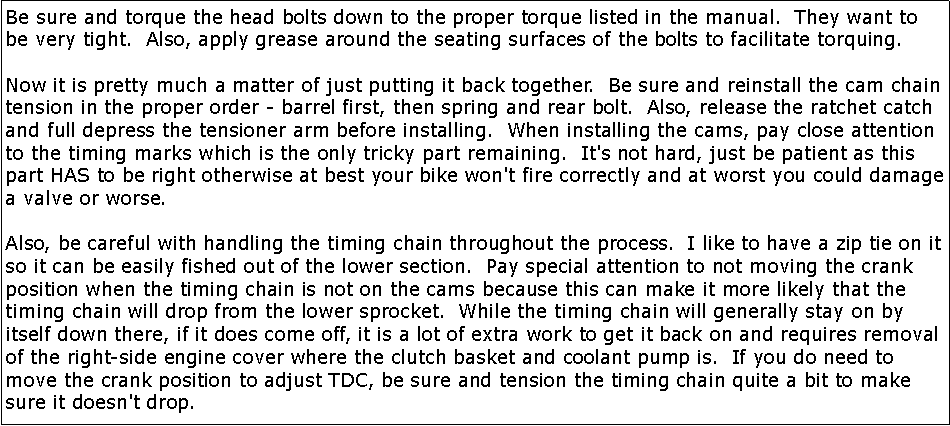
The engine in the KLX250S is basically identical to the KLX300 with the exception of the piston and cylinder.


If you are looking for a more low and mid range power and torque, you might want to consider increasing your stock KLX250S engine displacement from 249cc to 292cc (300cc kit)


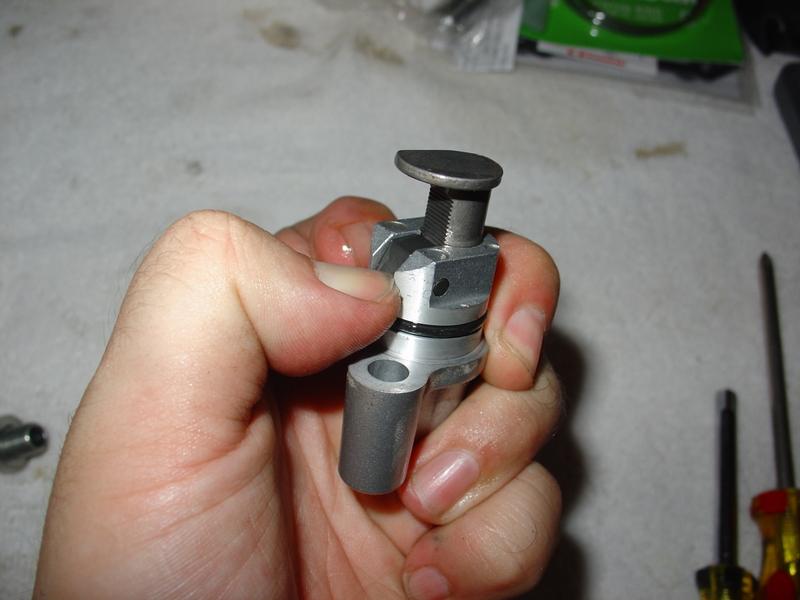
This requires the KLX300 292cc cylinder and which replaces the 250 cylinder and purchase the piston, rings, piston pin, pin clips, and gaskets


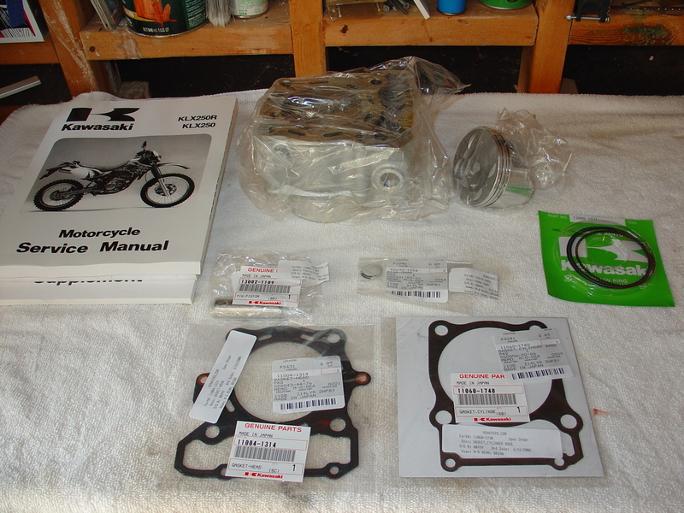
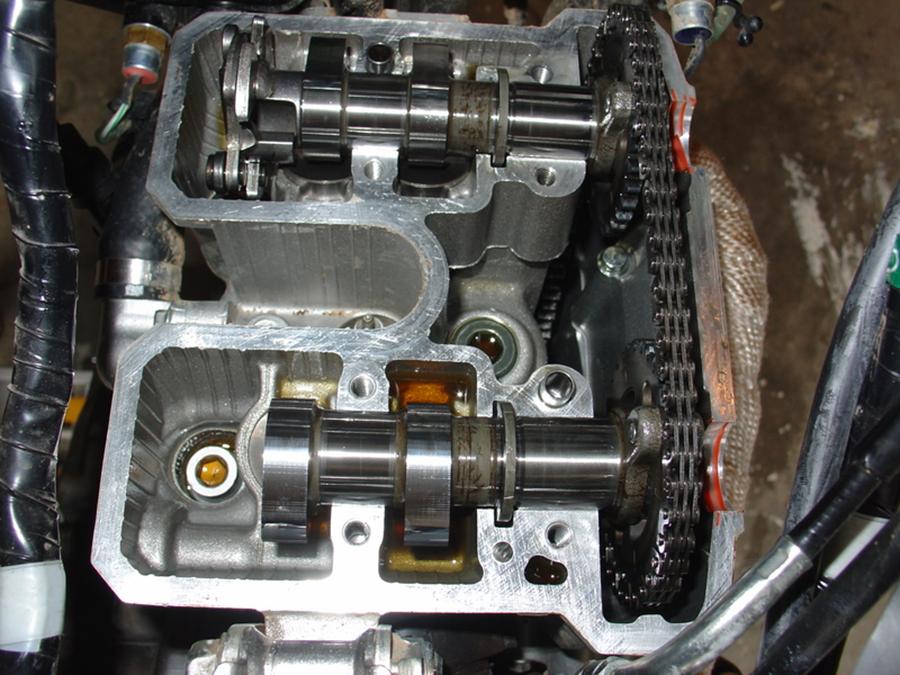
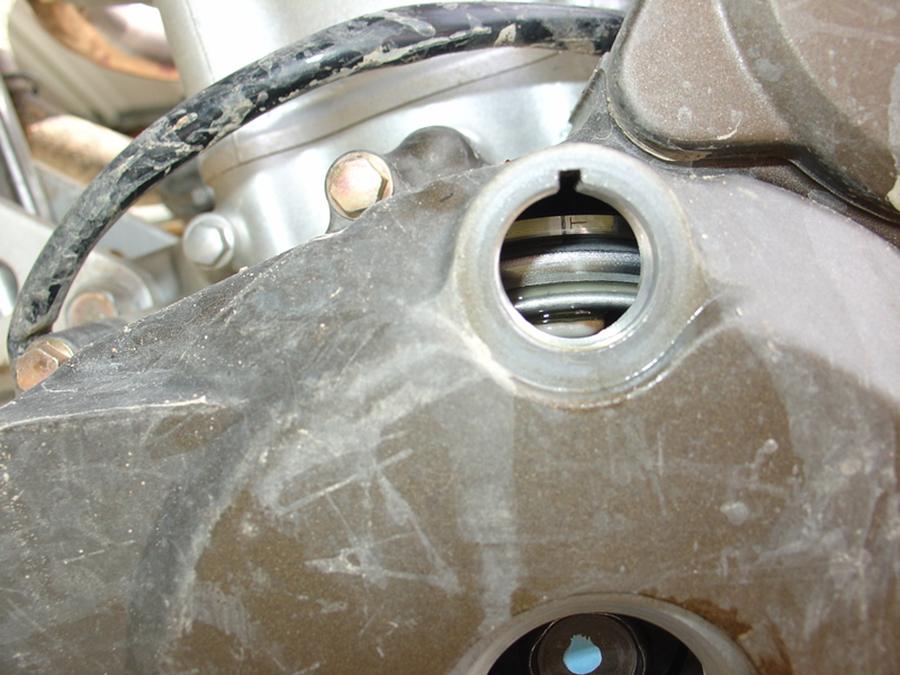
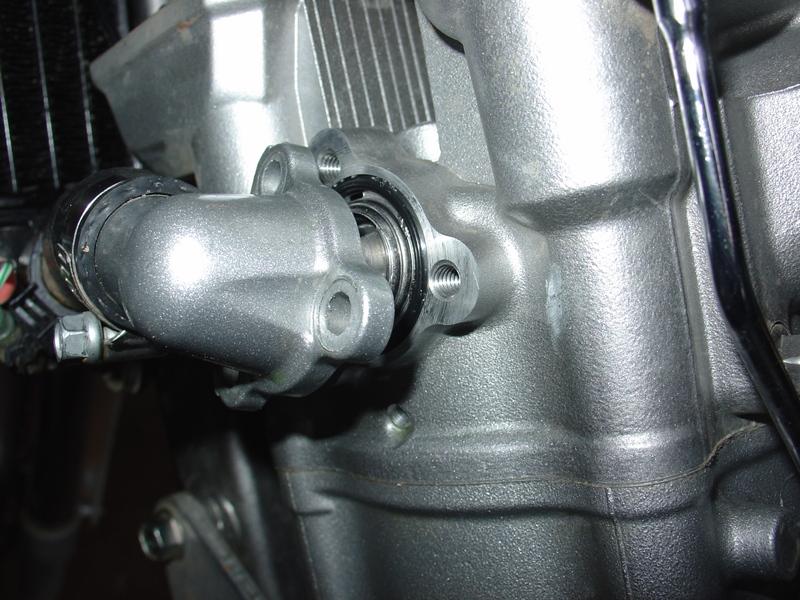
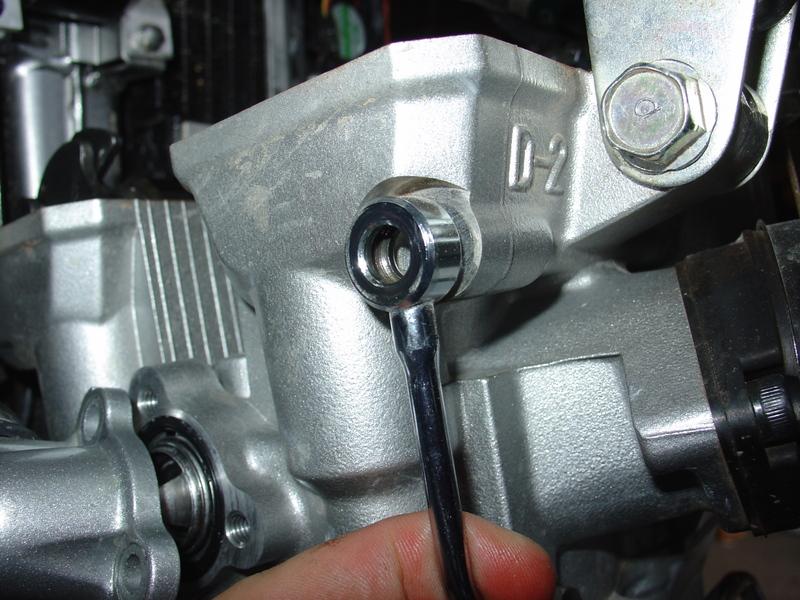
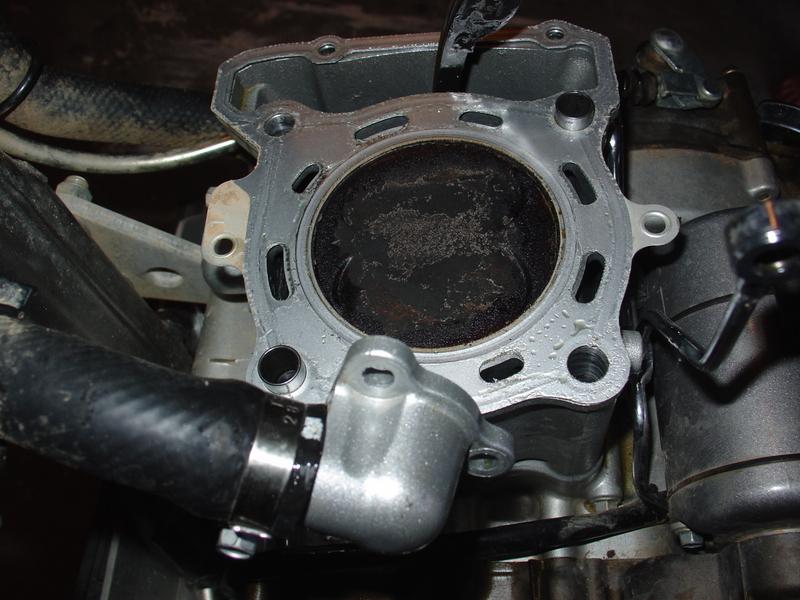
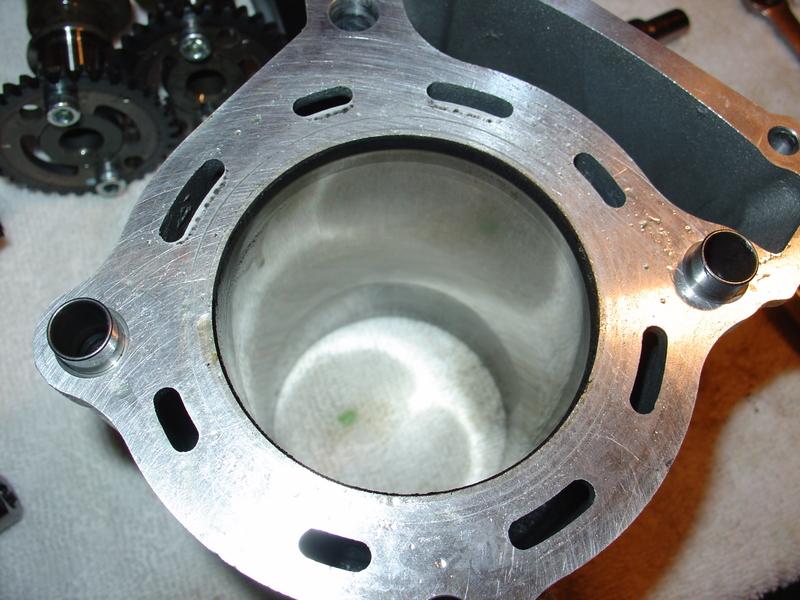
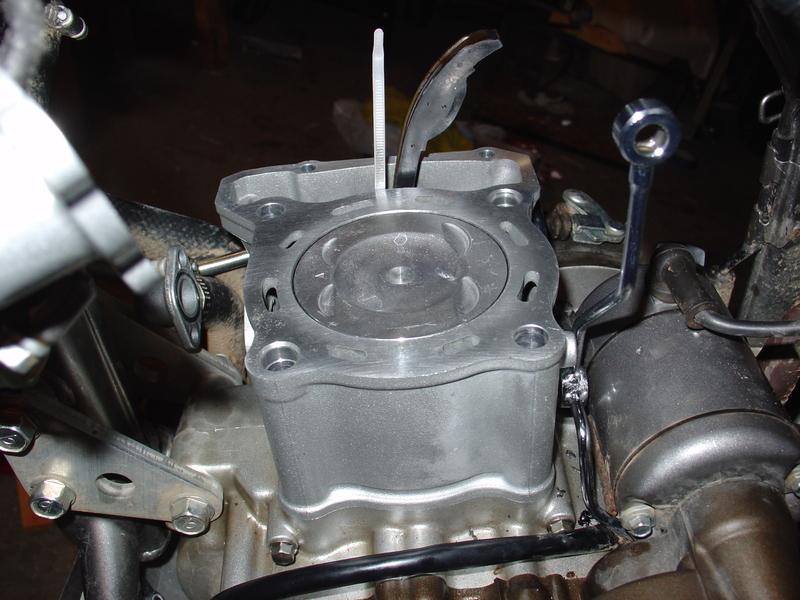
The install procedure involves draining all the fluids including oil and coolant, removing the seat, side panels, shrouds, gas tank, exhaust pipe, carburetor, valve cover, cams, cylinder head and finally the cylinder will come off then.

Then remove the old piston and pin.


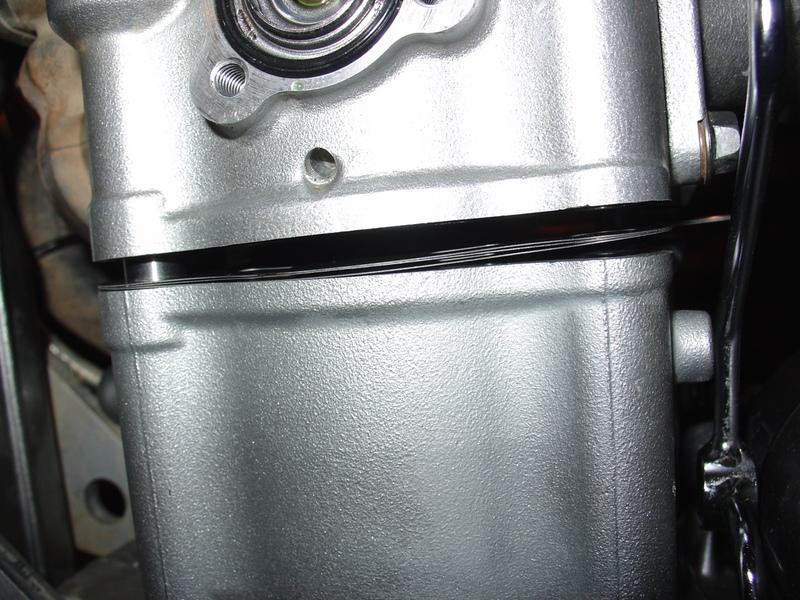
Before reinstallation be sure and clean all gasket surfaces well. They should be clean and dry when the new gaskets are installed.

Then, as the Kawasaki service manual says: "Assembly is the reverse of removal."


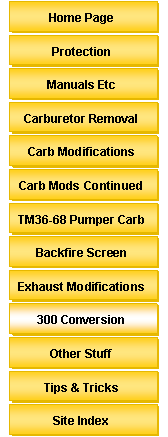
Here’s the parts you’ll need for this conversion


11005-1983      Cylinder-Engine

13001-1463      Piston-Engine

13002-1109      Pin-Piston

13008-1071      Ring-Set-Piston-Std

92033-1054      Ring-Snap (2 required)

11060-1740      Gasket, Cylinder Base

11004-1314      Head Gasket

11060-1318      Gasket, Head Cover (if you’re careful you can reuse this gasket and save some money)

KLX 250 to 300 Conversion
Text Box: Once you have the seat, side covers, and gas tank removed, you’re bike will look similar to this
Text Box: Here’s what the new parts look like.
Note that a service manual can be very handy.
Text Box: Drain the coolant and oil: 
Text Box: Get the piston to the top dead center (TDC) position.
One thing to keep in mind here is that after the timing chain is removed from the cams, do not attempt to move the crank any more as if you are not careful this can make it more likely that the timing chain will drop from the lower sprocket.  If that happens, you'll need to remove the right-side cover to get at it and put it back on which is a lot of extra work. 
Text Box: Remove the cam chain tensioner
Text Box: Valve cover off, cam bracket removed, cams ready to come out
Text Box: Disconnect the coolant hoses.
Have a few towels ready, some more coolant will likely drain out that didn't completely drain from before
Text Box: Disconnect the oil routing tube
Text Box: With the cams removed, the cylinder head bolts are exposed.  The main ones are the 4 allen head bolts one either side of the exhaust and intake valve buckets.  You can see them above, their heads filled with oil.  The other two are two smaller bolts to the right in the cam chain area
Text Box: Remove those bolts - the 4 larger bolts are very tight
Text Box: Once the bolts are removed the cylinder head can be removed.  Tap it lightly with a rubber mallet to loosen it up.  Once removed, you'll be able to see your old piston
Text Box: Next, work the old sleeve free and pull it straight up, tap lightly with the mallet if necessary to get it started
Text Box: This will leave your piston and piston rod exposed out of the top of your engine.  Be sure and use some towels or something to plug up your engine cylinder hole before the next step.  You need to use some needle nose pliers to free one of the piston pin retaining clips.  If it falls into your engine and you can't somehow fish it out, that's all she wrote and you'll need to split the case to find it.  DO NOT let that happen, plug up that cylinder hole.  After you remove the retaining clip, the piston pin will slide out and you can remove the piston

Next prep all the gasket surfaces and clean the new cylinder and piston, they will have heavy oils from the manufacturing process and those need to be removed.
The cylinder especially will have a lot of heavy oils

Prep the inside of the cylinder by wiping a very light coat of 10W40 on the inside - just a light coating is all that is needed.  Use a bit on a rag and then wipe down the inside.  Keep the gasket mating surfaces clean and dry.

Install the rings on the new piston - there are three sets of rings, be sure and install them correctly as per the service manual.

Install the new piston on the rod.  Go ahead and install one of the clips, then put the piston on, and the pin through, then install the other clip.  Make sure the bore hole is still covered - if that clip falls in, that could ruin your day.  Be sure and install the piston in the correct direction.  The piston has an arrow on it, it should be installed "arrow forward", the arrow pointing toward the front of the bike
Text Box: With the piston installed, use a ring compressor to compress the rings so that you can slide the sleeve over.  If you don’t have a ring compressor a hose clamp will work.
Text Box: Remove the rags that were blocking up the bore hole now - you don't want to forget and leave those in your engine.  Make sure there are no foreign stuff left behind in there, that might clog an oil tube.  Install the base gasket and slide the new cylinder over top of the piston, slowly working it down.  It should push the ring compressor out of its way as it slides
Text Box: Be sure and torque the head bolts down to the proper torque listed in the manual.  They want to be very tight.  Also, apply grease around the seating surfaces of the bolts to facilitate torquing.

Now it is pretty much a matter of just putting it back together.  Be sure and reinstall the cam chain tension in the proper order - barrel first, then spring and rear bolt.  Also, release the ratchet catch and full depress the tensioner arm before installing.  When installing the cams, pay close attention to the timing marks which is the only tricky part remaining.  It's not hard, just be patient as this part HAS to be right otherwise at best your bike won't fire correctly and at worst you could damage a valve or worse.

Also, be careful with handling the timing chain throughout the process.  I like to have a zip tie on it so it can be easily fished out of the lower section.  Pay special attention to not moving the crank position when the timing chain is not on the cams because this can make it more likely that the timing chain will drop from the lower sprocket.  While the timing chain will generally stay on by itself down there, if it does come off, it is a lot of extra work to get it back on and requires removal of the right-side engine cover where the clutch basket and coolant pump is.  If you do need to move the crank position to adjust TDC, be sure and tension the timing chain quite a bit to make sure it doesn't drop. 
Text Box: That's pretty much it - put it back together, refill your fluids,
double check that you don't have any parts left over

When you are comfortable that everything has been done and you haven't forgotten anything, crank it up.

It should start right up.
Text Box: Next install the head gasket, and reinstall the head

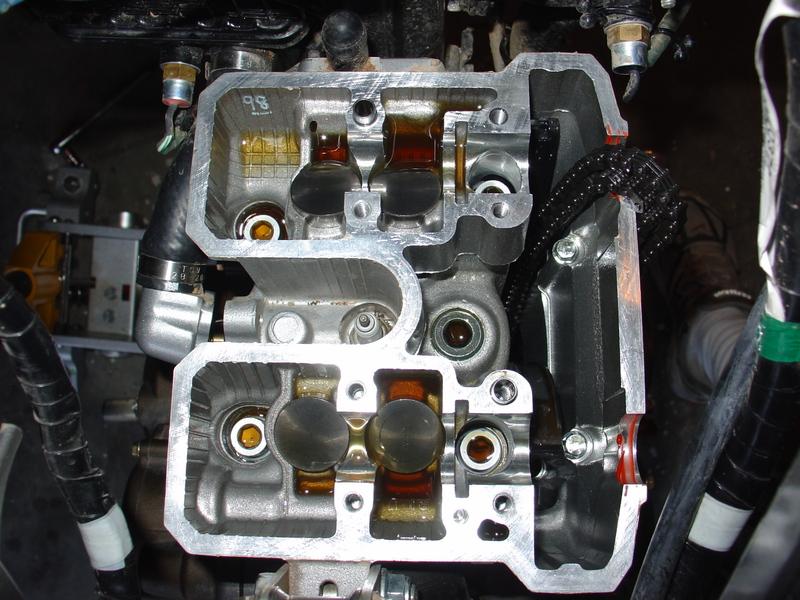
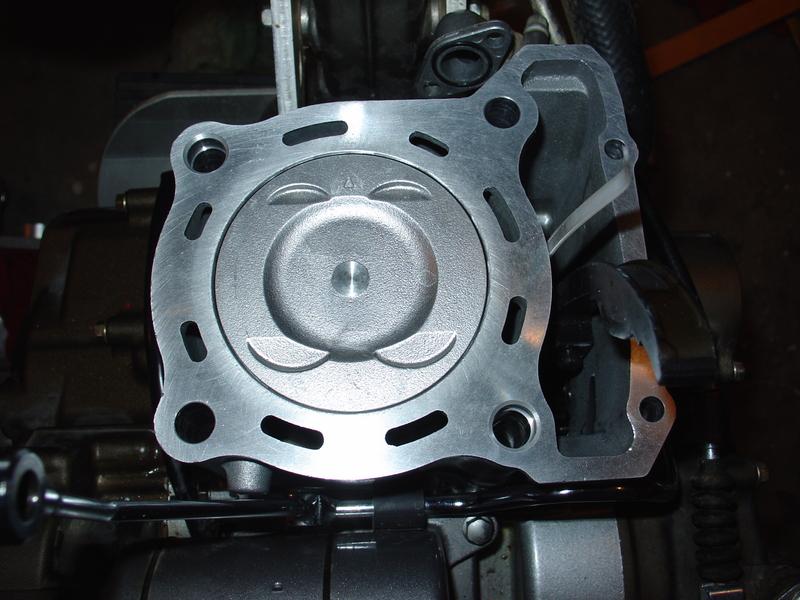
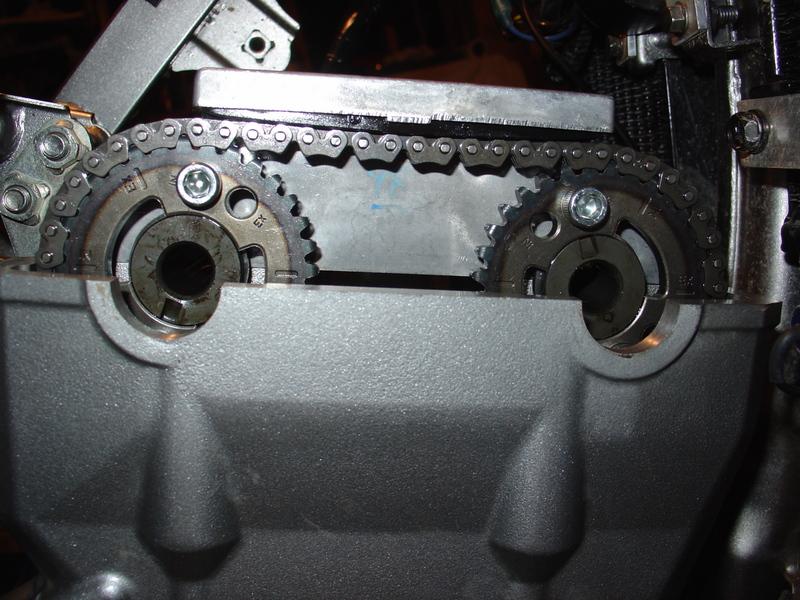
Tip

Before installing the cylinder head put the camshafts back in the head and torque the bolts

You can then check the valve clearances and make any necessary adjustments.

Even if they are in tolerance record the clearances for future reference.